Recent Posts
Archives
Add A New Email Address
Introduction
Adding a new email address associated with your website domain is a straightforward process that can enhance your professional communication.This guide will walk you through the steps required for adding a new email address using our shared hosting services.
Login to the Web Panel
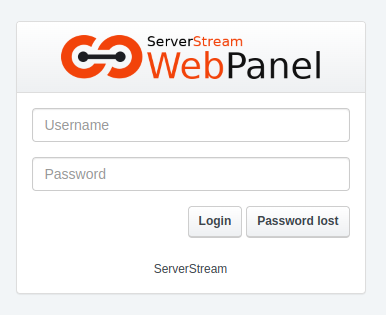
To start, log into the web panel where you manage your website. This is the central hub for all your website management tasks, including email setup (Figure 1).
Navigate To The Listings Page
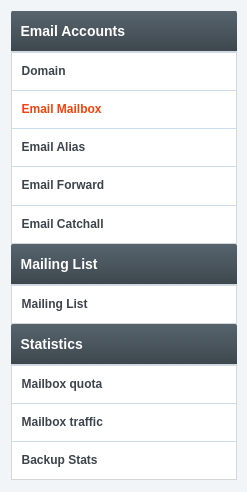
Once logged into the dashboard, locate the Email menu button on the menu bar (Figure 3). Click on it, and then select the Email Mailbox option from the left sidebar menu (Figure 2). This will take you to the Mailbox Listing Page.

(Figure 2)

(Figure 3)
Access the Mailbox Listing Page
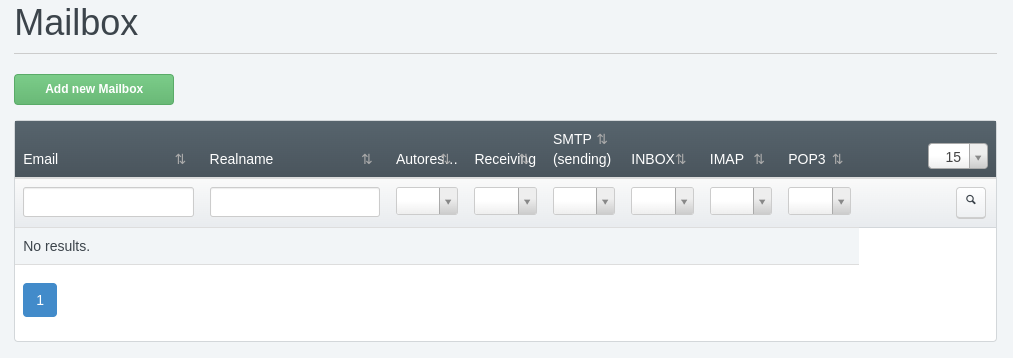
The Mailbox Listing Page displays all the email addresses associated with your domain. To add a new email address, click on the “Add New Mailbox” button (Figure 4). This action will open a form where you can enter the details for your new email account.
(Figure 4)
Enter New Email Account Information
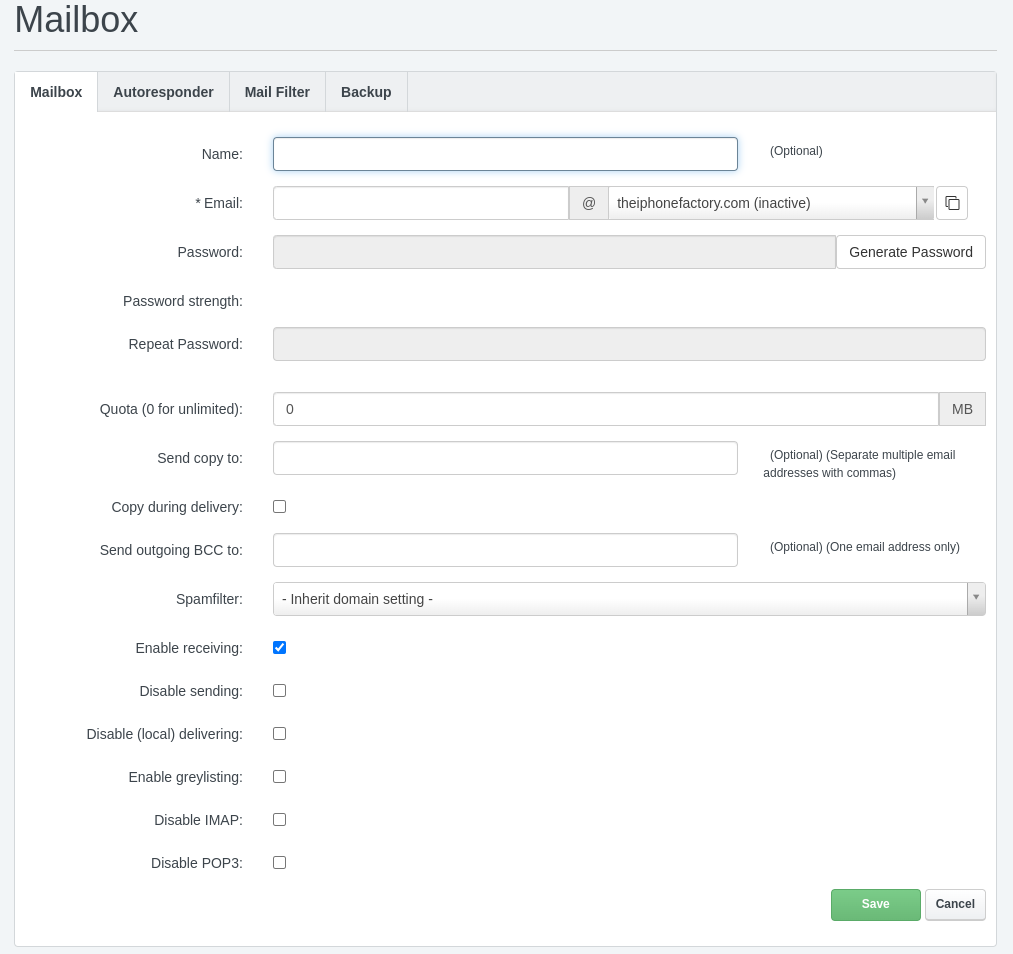
In the form, you will need to provide the necessary information for the new email address (Figure 5). This typically includes the desired email address name and password. It’s also important to consider your account’s usage quota. If there is a quota, set the mailbox size accordingly to avoid any issues with email storage limits.
(Figure 5)
Conclusion
Adding a new email address with your domain name is easy with our shared hosting services. By following these simple steps, you can quickly set up a new custom email address to enhance your professional communication. Once your email address is set up, you may also want to learn how to check your email online to stay connected on the go.
With this guide, you now have all the information needed for adding a new email address and manage your professional communications effectively.


